
30 lines
1.8 KiB
Plaintext
30 lines
1.8 KiB
Plaintext
---
|
|
title: Complete your onboarding
|
|
description: Once you create a Cal.com account, you are taken to the onboarding flow, where you'll need to go through the process of setting up some basics to get you up and running.
|
|
---
|
|
|
|
## Set up your name and timezone
|
|
|
|
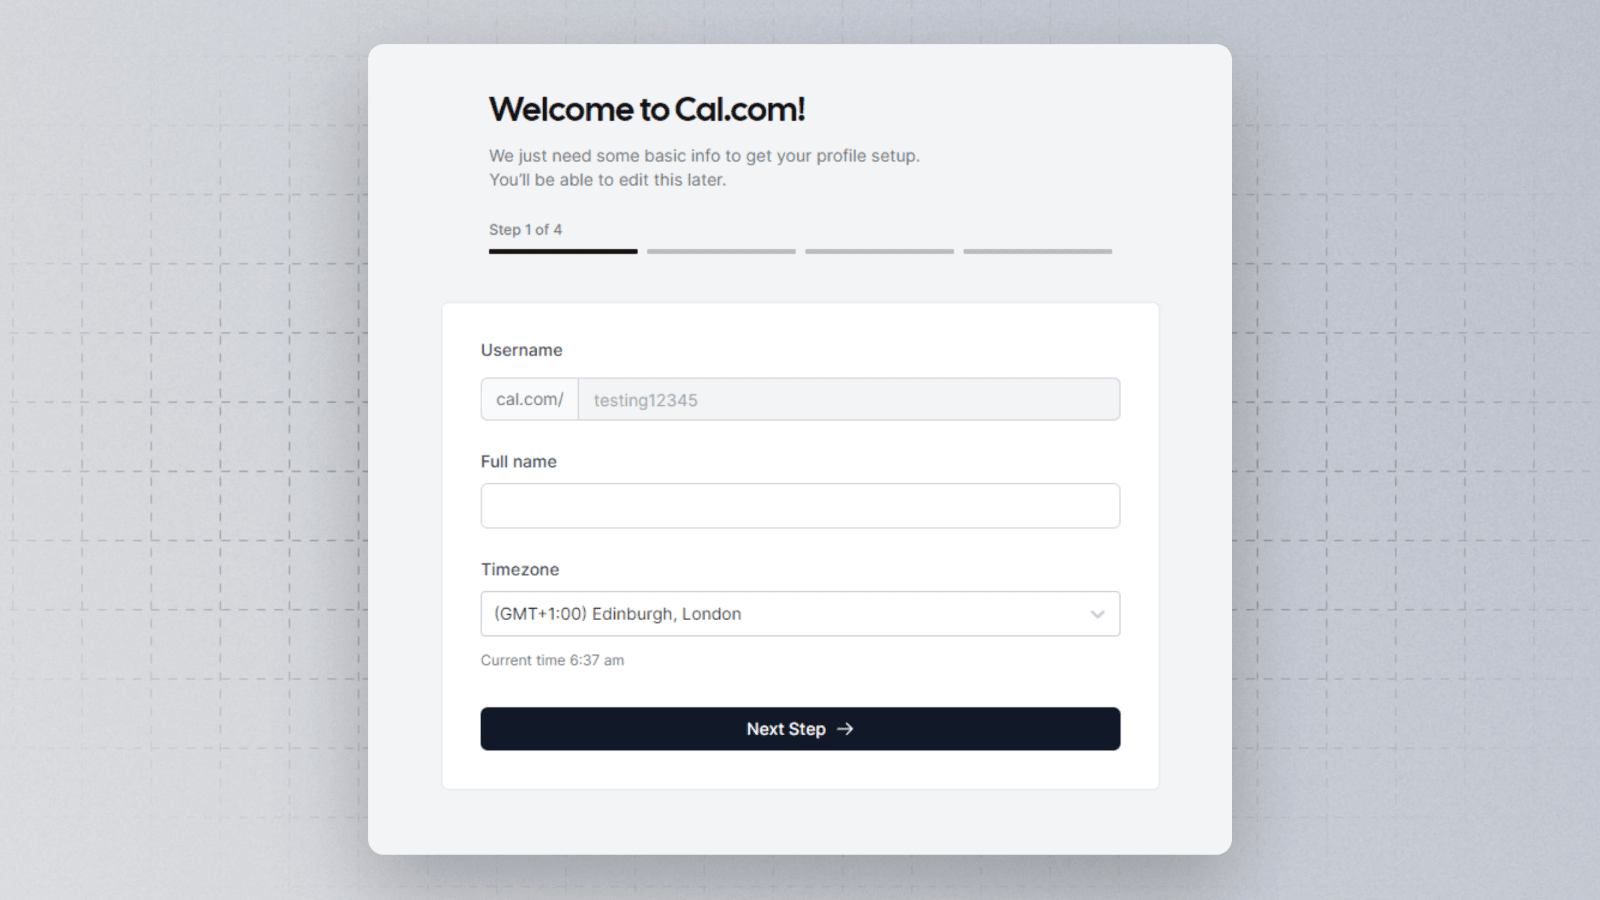
Here all you need to do is enter your full name to be displayed on your booking page, and confirm the Timezone that you're in.
|
|
|
|
|
|
|
|
## Connect a calendar
|
|
|
|
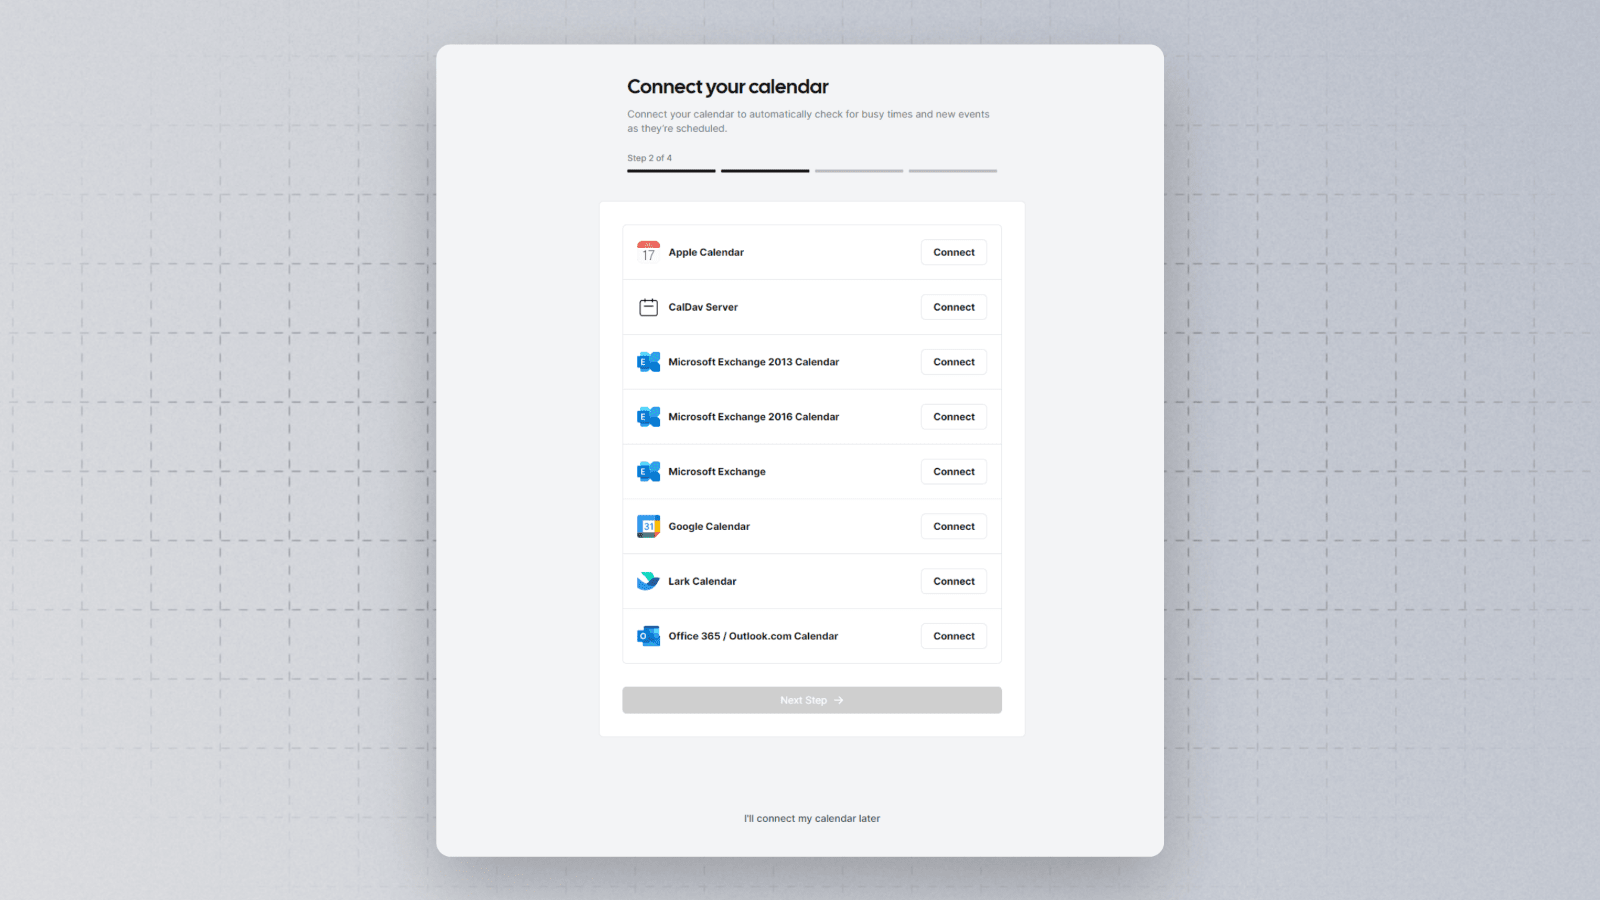
You can connect your Cal.com account with any of your calendars to automatically check for busy times and create new events as they are scheduled. If you wish to connect a calendar at a later stage, you can always click on **I'll connect my calendar later** and it'll skip to the next step.
|
|
|
|
|
|
|
|
## Set up your availability
|
|
|
|
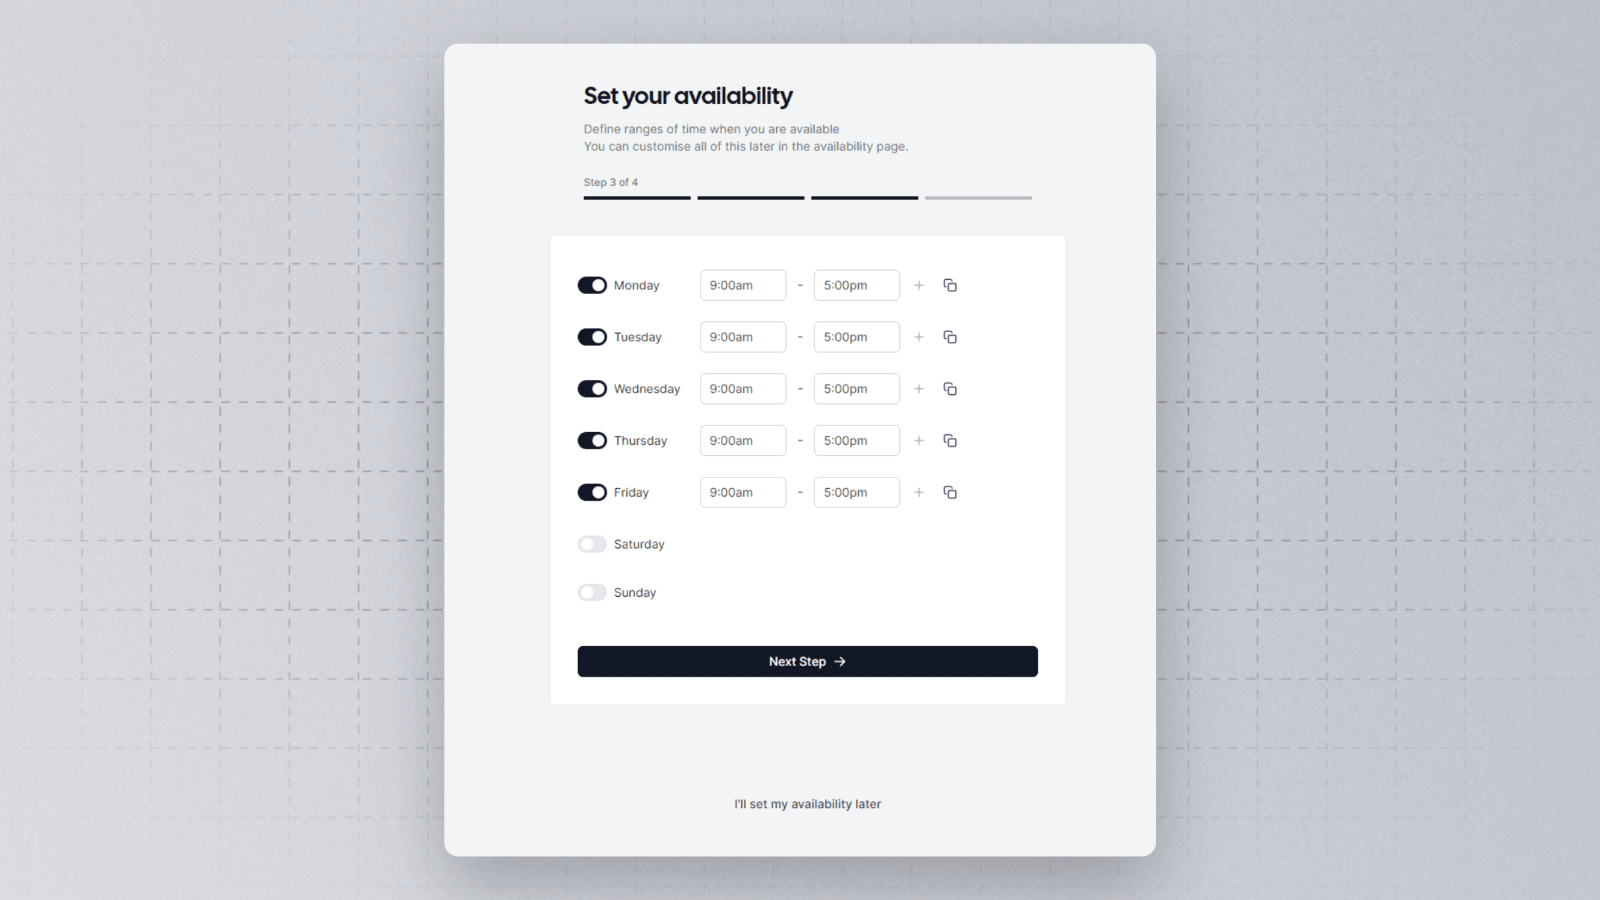
You can set your availability schedule in this step. You can always create or modify your availability at a later stage in the application as well. If you wish you can learn more about [Setting up your availability](https://cal.com/docs/how-to-guides/setting-up-your-availability) or check out the deep dive into the [Availability](https://cal.com/docs/core-features/availability) feature.
|
|
|
|
|
|
|
|
## Final profile details
|
|
|
|
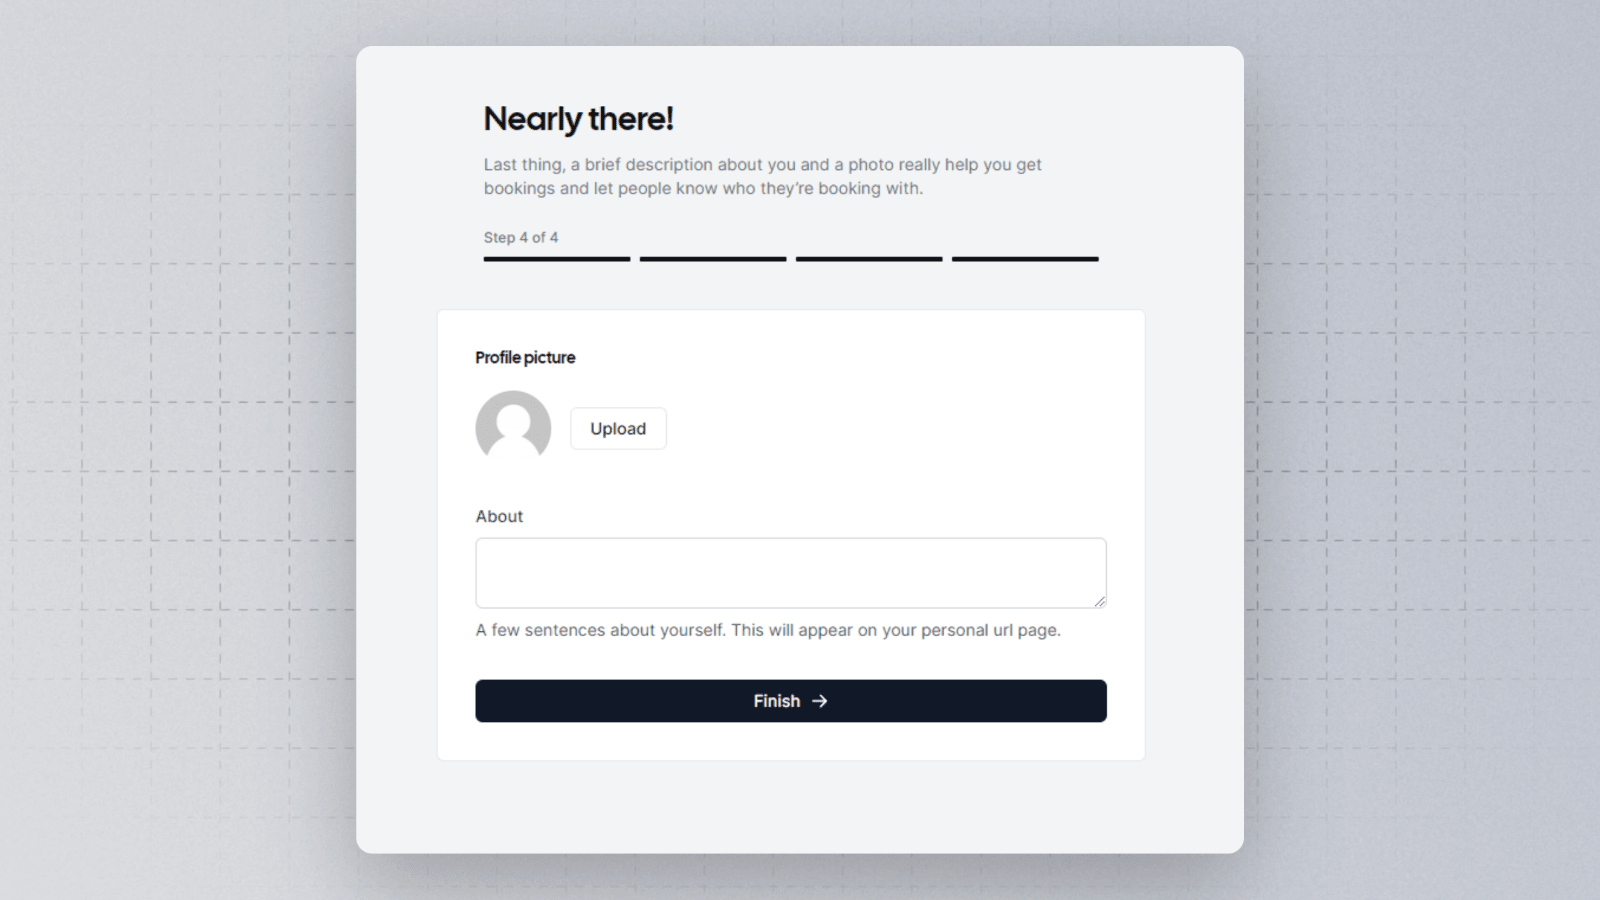
Finally, you can personalize your Cal.com booking link by providing a brief description about yourself and uploading a photograph so the people know who they're booking with.
|
|
|
|
|
|
|
|
That's it. You're fully onboarded and all set to start your scheduling journey! |